ABlogでブログを試してみる
Sphinxの拡張の一つで、ブログを作成するABlogを試してみます。
ここでは下記の組み合わせで試してみました。
- ABlog 0.8.4
- Sphinx 1.5.6
- Python 3.6.1
- Anaconda 4.4.0
- Windows10
プロジェクトを作る
まず、プロジェクトのフォルダを作ります。そのフォルダでコマンドプロンプトを開いて、下記のコマンドを実行します。
> ablog start
すると、sphinx-quickstartのように対話形式でプロジェクトの設定が始まります。
C:\trial-ablog>ablog start
Welcome to the ABlog 0.8.4 quick start utility.

Please enter values for the following settings (just press Enter to accept a
default value, if one is given in brackets).

Enter the root path for your blog project.
> Root path for your project [.]:

Project name will occur in several places in the website, including blog archive
pages and atom feeds. Later, you can set separate names for different parts of
the website in configuration file.
> Project name: trial
This of author as the copyright holder of the content. If your blog has multiple
authors, you might want to enter a team name here. Later, you can specify
individual authors using `blog_authors` configuration option.
> Author name(s): trial_author

Please enter the base URL for your project. Blog feeds will be generated
relative to this URL. If you don't have one yet, you can set it in configuration
file later.
> Base URL for your project:

Creating file .\conf.py.
Creating file .\index.rst.
Creating file .\about.rst.
Creating file .\first-post.rst.
Finished: An initial directory structure has been created.
入力するのは、行頭に>が付いているところだけです。sphinx-quickstartよりも項目が少ないですね。
入力が終わるとファイルが自動生成されます。実行後のフォルダ構成は下記のようになります。
C:\trial-ablog
│  about.rst
│  conf.py
│  first-post.rst
│  index.rst
│
├─_static
└─_templates
- about.rst
- 投稿ではない固定ページのサンプル
- conf.py
- プロジェクトの設定ファイル
- first-pist.rst
- 投稿のサンプル
- index.rst
- ブログのトップページ
ブログをビルドする
ブログとなるHTMLを作成します。make htmlではなくて、下記のコマンドを使います。
> ablog build
エラーが表示されました。
Traceback (most recent call last):
  File "c:\anaconda3\lib\runpy.py", line 193, in _run_module_as_main
    "__main__", mod_spec)
  File "c:\anaconda3\lib\runpy.py", line 85, in _run_code
    exec(code, run_globals)
  File "C:\anaconda3\Scripts\ablog.exe\__main__.py", line 9, in <module>
  File "c:\anaconda3\lib\site-packages\ablog\commands.py", line 404, in ablog_main
    namespace.func(**namespace.__dict__)
  File "c:\anaconda3\lib\site-packages\ablog\commands.py", line 119, in ablog_build
    confdir = find_confdir()
  File "c:\anaconda3\lib\site-packages\ablog\commands.py", line 22, in find_confdir
    if isfile(conf) and 'ablog' in open(conf).read():
UnicodeDecodeError: 'cp932' codec can't decode byte 0x9d in position 582: illegal multibyte sequence
cp932というのはシフトJISのことですね。ファイルを全てUTF-8にしてもこのエラーがでます。Windowsが問答無用でシフトJISでファイルをPythonに渡してしまっているようです。
というわけで、エラーメッセージに出てくるcommands.pyの22行目を下記のように変えてみます。
if isfile(conf) and 'ablog' in open(conf, encoding='utf-8').read():
open関数にencodingを指定してしまうわけです。
再度 ablog build を実行すると、今度は別のエラーが出ました。
Exception occurred:
  File "c:\anaconda3\lib\site-packages\docutils\nodes.py", line 567, in __getitem__
    return self.attributes[key]
KeyError: 'source'
The full traceback has been saved in C:\Users\xxx\AppData\Local\Temp\sphinx-err-xxxxxxxx.log, if you want to report the issue to the developers.
Please also report this if it was a user error, so that a better error message can be provided next time.
A bug report can be filed in the tracker at <https://github.com/sphinx-doc/sphinx/issues>. Thanks!
今度はdocutilsで問題が出ています。エラーログを見ても、私ごときではさっぱりわかりません。
ということでGoogle先生に相談したところ、先人 が解決策を見つけておられました。docutilsの最新版では問題が出るようです。
ということで、docutilsをダウングレードします。
> pip install docutils==0.13.1
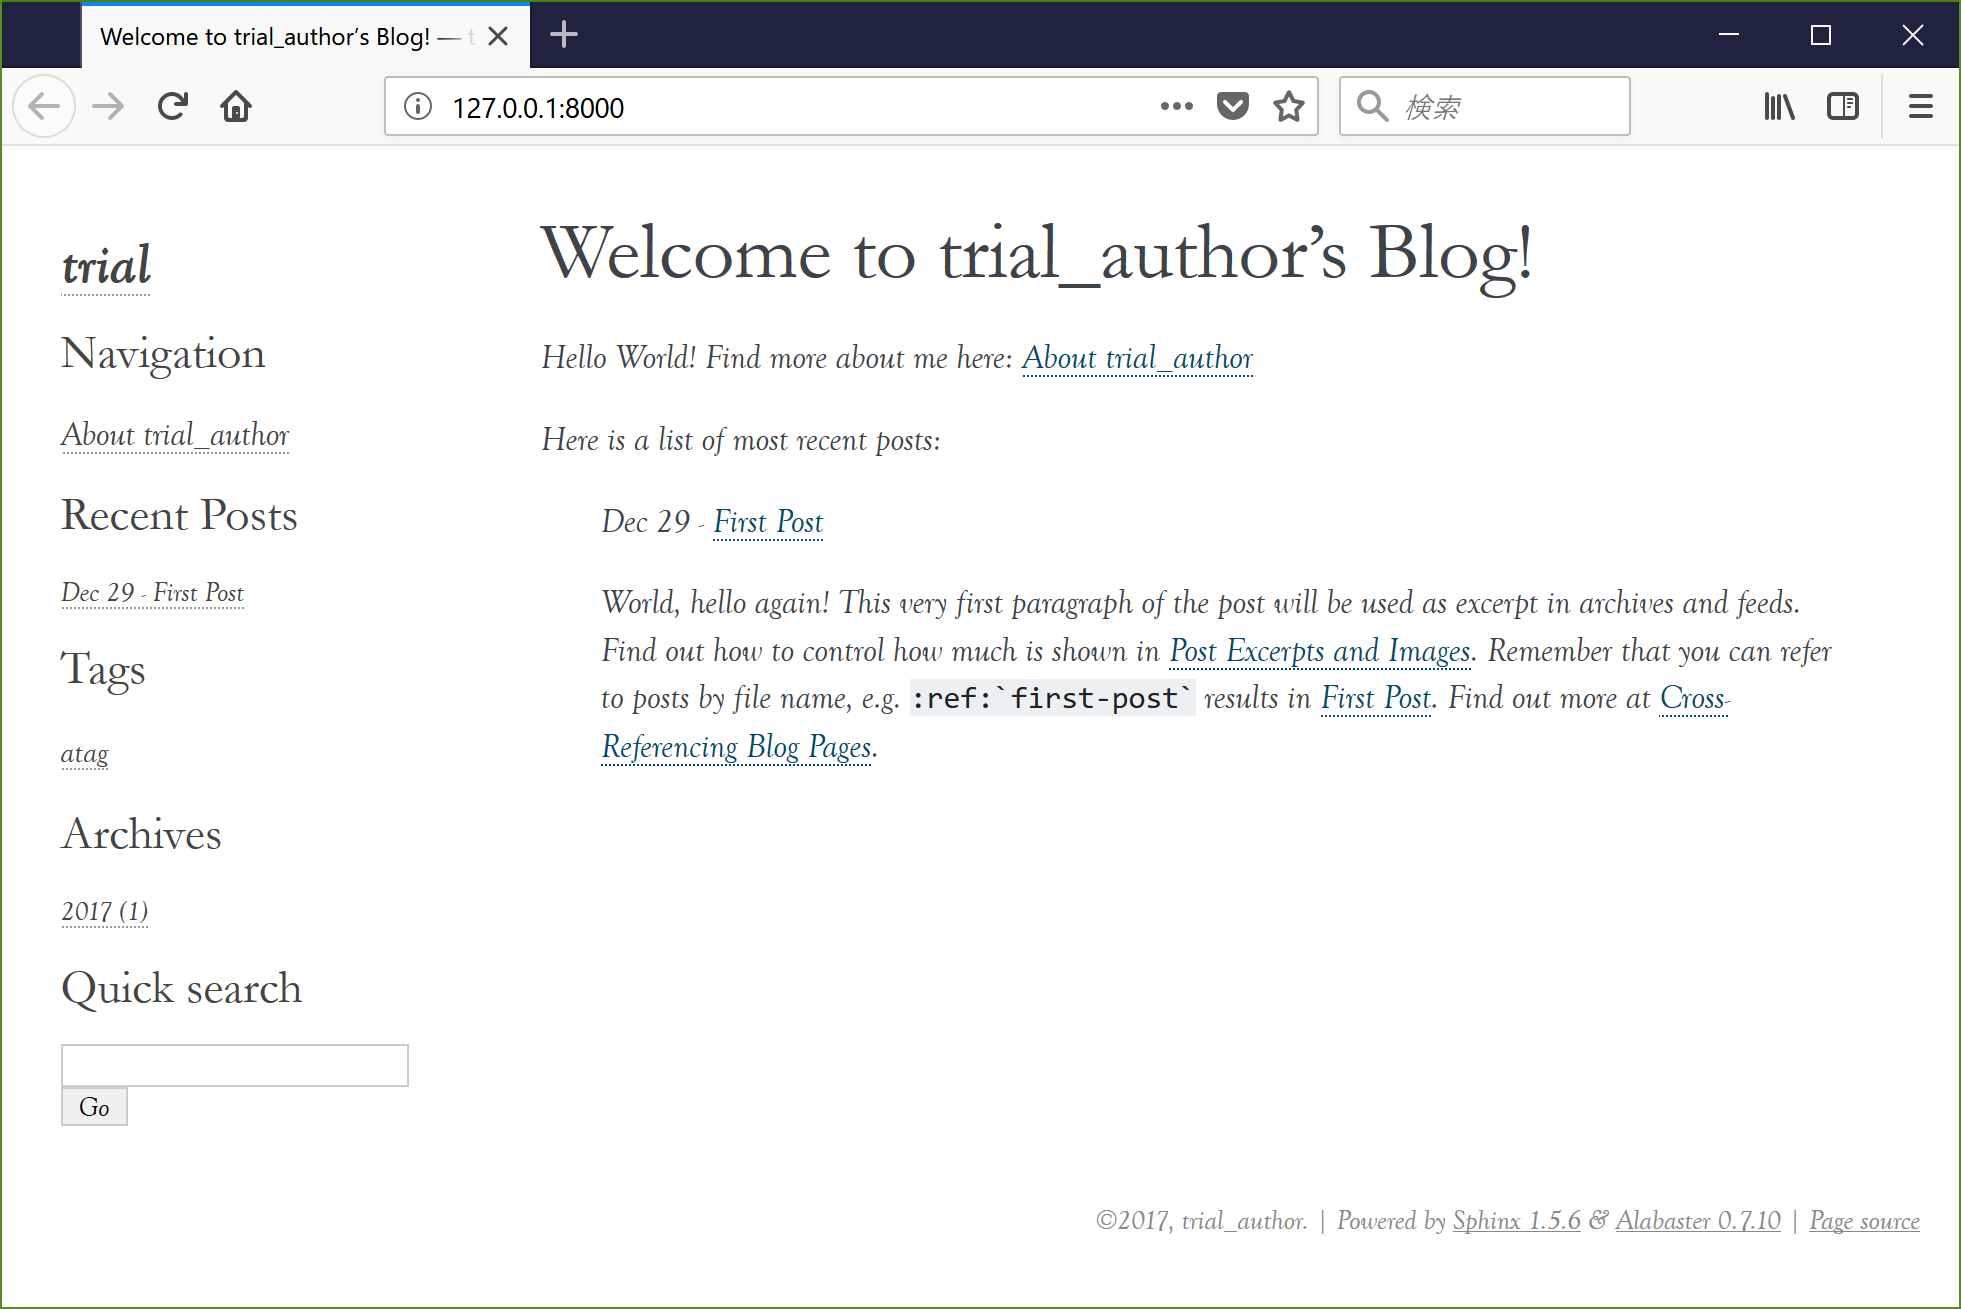
やっとのことでablog buildが通るようになりました。
実行すると、下記のようなフォルダ構成になります。
C:\trial-ablog
├─.doctrees
├─_static
├─_templates
├─_website
│  ├─about
│  ├─blog
│  │  ├─2017
│  │  ├─archive
│  │  ├─author
│  │  │  └─trial_author
│  │  ├─drafts
│  │  └─tag
│  │      └─atag
│  ├─first-post
│  ├─genindex
│  ├─search
│  ├─_sources
│  └─_static
└─__pycache__
_websiteフォルダ以下がブログになります。