C#でBitmapで描いた画像をImageコントロールに表示してみた
WPFのC#なのですが、Bitmapクラスを使って描いた画像をImageコントロールに表示する方法をメモっておきます。 試した環境は下記です。
Visual Studio 2015 Express for Windows Desktop
目次
WPFでこういう問題起きませんか?
WPFで作るアプリでラスタ画像を表示させようと思ったら、Imageコントロールを使いますよね。で、そのImageコントロールのSourceプロパティに画像のオブジェクトを設定すれば、Imageコントロールに画像が表示されると思いますよね。 ということで、System.Drawing.Bitmapクラスで描いた画像のインスタンスをImageコントロールのプロパティに設定してみました。こんな感じです。
image.Source = bitmap;
imageはImageコントロールのインスタンス、bitmapはBitmapクラスのインスタンス(空じゃないですよ)です。そうすると、Visual Studioさんに「型 'System.Drawing.Bitmap' を 'System.Windows.Media.ImageSource' に暗黙的に変換できません」と怒られてしまいます。 確かにImage.Sourceプロパティの説明によれば、ImageSourceクラスのオブジェクトを設定しなければならないようです。具体的には、BitmapImageとかBitmapFrameとか。 というわけで、WPFでSystem.Drawing.Bitmapのインスタンスを表示するには何らかの変換が必要になります。いくつかパターンがありますので、試してみました。
変換用のメソッドを使う
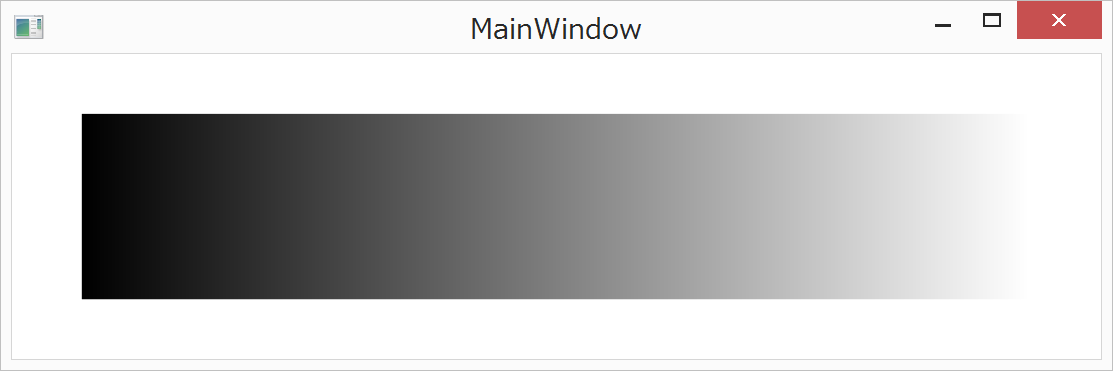
System.Windows.Interop.Imaging.CreateBitmapSourceFromHBitmap()メソッドを使って、HBitmapオブジェクトからImageSourceオブジェクトを得る方法です。 512x100のビットマップで横方向に黒から白へのグラデーションを描いたビットマップイメージを、ウィンドウのImageコントロールに表示してみます。
<Window x:Class="image_trial2.MainWindow"
        xmlns="http://schemas.microsoft.com/winfx/2006/xaml/presentation"
        xmlns:x="http://schemas.microsoft.com/winfx/2006/xaml"
        xmlns:d="http://schemas.microsoft.com/expression/blend/2008"
        xmlns:mc="http://schemas.openxmlformats.org/markup-compatibility/2006"
        xmlns:local="clr-namespace:image_trial2"
        mc:Ignorable="d"
        Title="MainWindow" Height="200" Width="600">
    <Grid>
        <Image Name="image" Stretch="None"/>
    </Grid>
</Window>
using System;
using System.Windows;
using System.Windows.Media.Imaging;
using System.Drawing;

namespace image_trial2
{
    public partial class MainWindow : Window
    {
        public MainWindow()
        {
            InitializeComponent();

            // 画像作成
            int width = 512;
            int height = 100;
            Bitmap bitmap = new Bitmap(width, height);
            for (int x = 0; x < width; x++)
            {
                int value = (int)Math.Floor((double)x / ((double)width / 256));
                System.Drawing.Color color = System.Drawing.Color.FromArgb(255, value, value, value);
                for (int y = 0; y < height; y++)
                {
                    bitmap.SetPixel(x, y, color);
                }
            }

            // 表示
            IntPtr hbitmap = bitmap.GetHbitmap();
            image.Source = System.Windows.Interop.Imaging.CreateBitmapSourceFromHBitmap(hbitmap, IntPtr.Zero, Int32Rect.Empty, BitmapSizeOptions.FromEmptyOptions());
            DeleteObject(hbitmap);
        }

        [System.Runtime.InteropServices.DllImport("gdi32.dll")]
        public static extern bool DeleteObject(IntPtr hObject); // gdi32.dllのDeleteObjectメソッドの使用を宣言する。
    }
}
Bitmap.GetHbitmap()メソッドでBitmapインスタンスからGDIビットマップというのを作って、そのポインタをCreateBitmapSourceFromHBitmap()メソッドへ渡します。その戻り値がBitmapSourceになるので、それをImageコントロールのSourceプロパティに設定して、ウィンドウに表示します。MSDNにGetHBitmap()で作ったオブジェクトをメモリから解放するためにDeleteObject()しろと書いてあるのですが、gdi32.dllからexternしないといけないという手間が必要です。Hbitmapを変換元にするメソッドがあるんだから、externで宣言しなくてもDeleteObject()を使えるようにしておいてくれれば良いのに。
実行結果は下図の様に表示されます。 
ストリームを使う
メモリストリームを使ってImageSourceを得る方法です。XAMLは前述と同じです。
using System;
using System.Windows;
using System.Windows.Media.Imaging;
using System.Drawing;
using System.Drawing.Imaging;
using System.IO;

namespace image_trial2
{
    public partial class MainWindow : Window
    {
        public MainWindow()
        {
            InitializeComponent();

            // 画像の作成
            int width = 512;
            int height = 100;
            Bitmap bitmap = new Bitmap(width, height);
            for (int x = 0; x < width; x++)
            {
                int value = (int)Math.Floor((double)x / ((double)width / 256));
                System.Drawing.Color color = System.Drawing.Color.FromArgb(255, value, value, value);
                for (int y = 0; y < height; y++)
                {
                    bitmap.SetPixel(x, y, color);
                }
            }

            // 画像の表示
            using (Stream stream = new MemoryStream())
            {
                bitmap.Save(stream, ImageFormat.Png);
                stream.Seek(0, SeekOrigin.Begin);
                image.Source = BitmapFrame.Create(stream, BitmapCreateOptions.None,BitmapCacheOption.OnLoad);
            }
        }
    }
}
メモリストリームに保存して、そのストリームからImageSourceを作成します。仕組みはわかりやすいですね。ストリームから読み込んで表示する部分を、BitmapFrameではなくBitmapImageにすると下記の様になります。
using (Stream stream = new MemoryStream())
{
    bitmap.Save(stream, ImageFormat.Png);
    stream.Seek(0, SeekOrigin.Begin);
    BitmapImage img = new BitmapImage();
    img.BeginInit();
    img.CacheOption = BitmapCacheOption.OnLoad;
    img.StreamSource = stream;
    img.EndInit();
    image.Source = img;
}
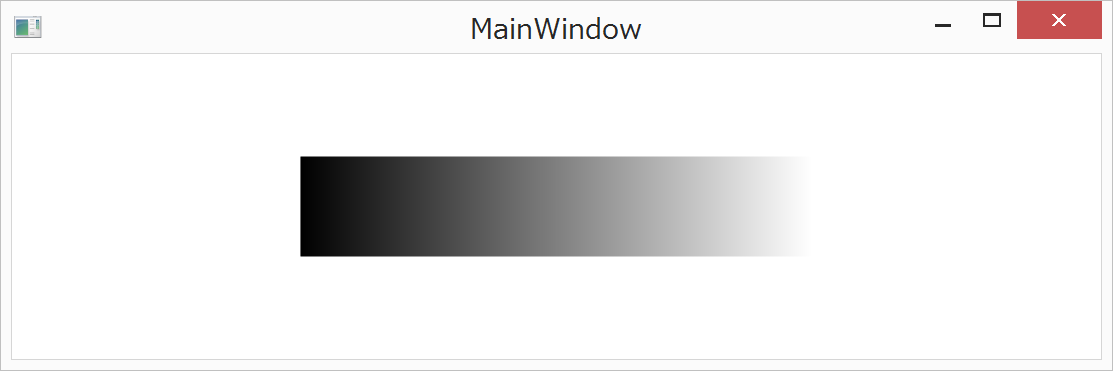
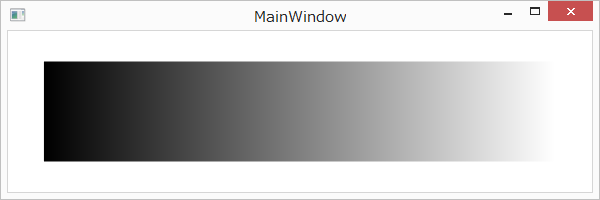
実行すると、下図の様に表示されます。  あれ?表示される図の大きさがCreateBitmapSourceFromHBitmap()と違う。ウィンドウ枠に対して、メモリストリーム経由の方は画像が小さい。よくよく見てみると、CreateBitmapSourceFromHBitmap()の方は幅が512ドットよりも大きい。???
試しにディスプレイのスケーリングを100%にして、メモリストリーム経由の方を実行すると下図の様になりました。
 ディスプレイのスケーリングによってウィンドウ枠と画像の比率が変わっています。
試した環境のPCは、ディスプレイのスケーリングを185%という変態スケールで使用しています。13.3インチ2560x1440のディスプレイなので、150%では細かすぎるし200%では解像度不足になるからです。CreateBitmapSourceFromHBitmap()で実行した状態のスクリーンショットを撮ってペイントで画像の大きさを調べてみると、画像部分の幅がおよそ948ドットでした。つまり512ドットの約180%です。ということは、CreateBitmapSourceFromHBitmap()で表示させるとディスプレイのDPIスケーリングに追従し、メモリストリームを経由するとDPIスケーリングを無視するということですね。
公開日
広告
C#で画像処理カテゴリの投稿
- C#でBitmapImageをByte配列に変換してみた
- C#でBitmapで描いた画像をImageコントロールに表示してみた
- C#でHSBで色指定してラスタ画像を描いてみた
- C#でOpenCVを使う
- C#でラスタ画像を描いてみた
- C#で写真の中の線を抽出してみた
- C#で描いた画像をファイルに保存してみた
- C#で画像の色を反転してみた
- C#で画像を描いてみた(WPFでBitmapSource.Create編)
- C#で画像を描いてみた(WPFでWritableBitmap編)
- C#で画像ファイルを表示してみた
- C#のOpenCvSharpでMatとBitmapSourceを変換する
- C#のWPFアプリでPNG形式の画像ファイルの読み込みと書き出しをする